Your first standard page
The documentation applies to: v0.8.0
What is Standard Component?
A brief of Standard Component is a section type, a page has multiple sections. Read here for more concepts.
These steps below will help you to create one page with standard component.
Step 1: Login
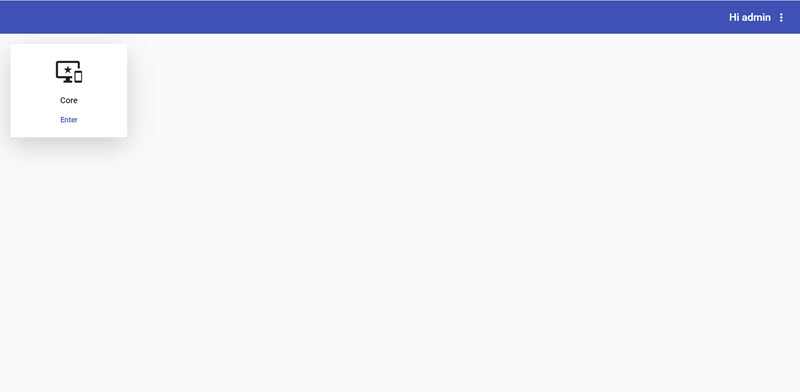
Enter your admin account, by default, it is admin / @Dm1n!, then click on Login button
Press Enter
You can press Enter after filling username/password
After you login successfully, click on Enter under Core app
Step 2: Go to Standard Builder Page
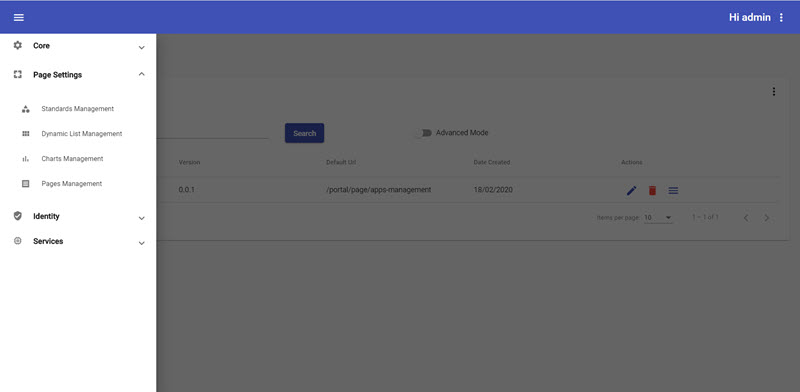
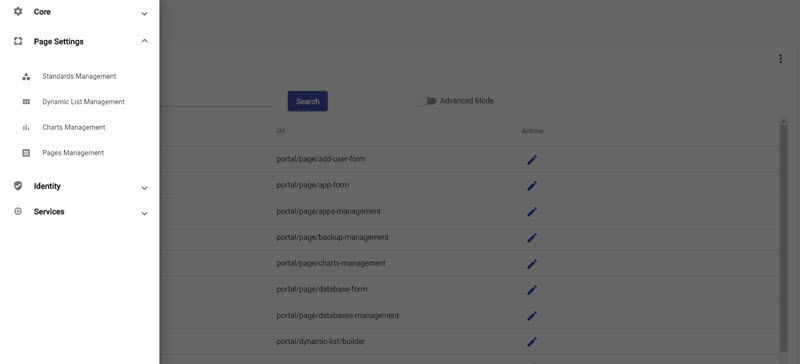
On Apps List page, you choose a menu by clicking on a left menu icon on Header. Then clicks on Page Settings, and clicks on Standards Management.
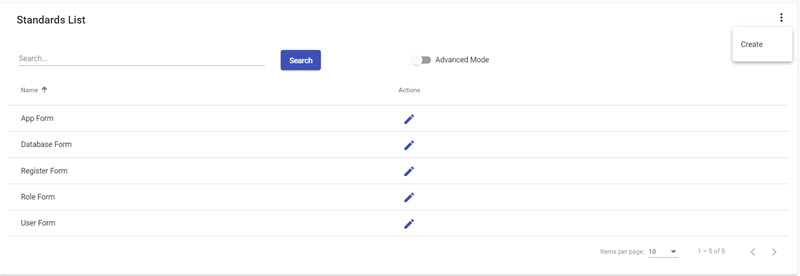
Then you choose  on the right side of list, it will display a Create button, so click on this.
Tip
For UI consistency, you need to click on to find more buttons on a page.
Step 3: Populate controls
You need to fill out some simple fields below:
- Display Name: Put any name will be displayed on Standards List
- Name: this field will be auto-generated while you are entering Display Name
- Layout Type: There are four types which are prefering to Bootstrap Grid system, if you don't have any idea, just skip as default
On an example, we fill out these infos
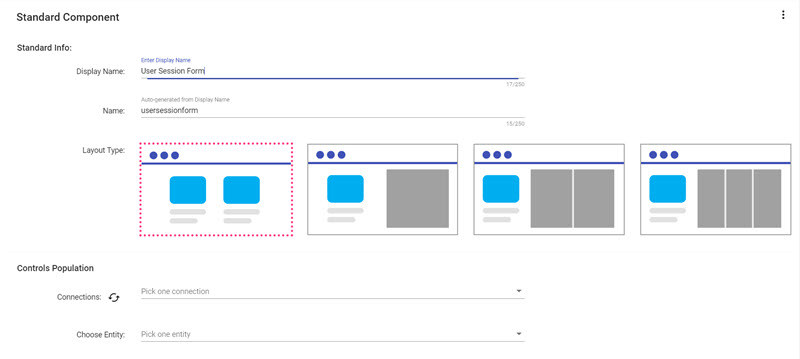
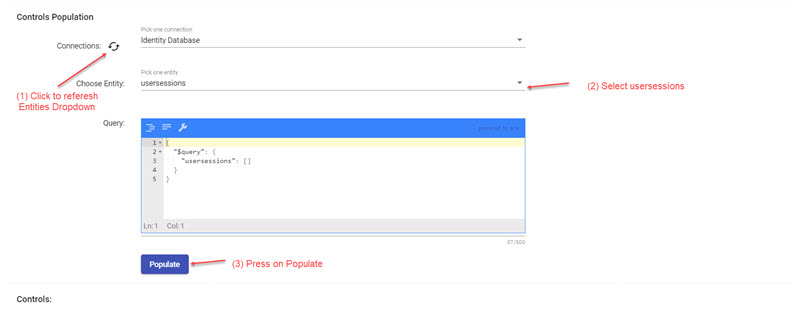
Now take a look on Controls Population, you should do three steps below:
- On Connections, selects Identity Database
- Selects usersessions from Choose Entity dropdown
- Presses on Populate button
Tip
If you don't see "usersessions" option, please press on "refresh icon" next to "Connections"
If everything is fine, you should see many controls dispaly under Controls section
Step 4: Edit one control
Before editting one control, you can see id and userId controls here. But don't worry, they will be hide by default.
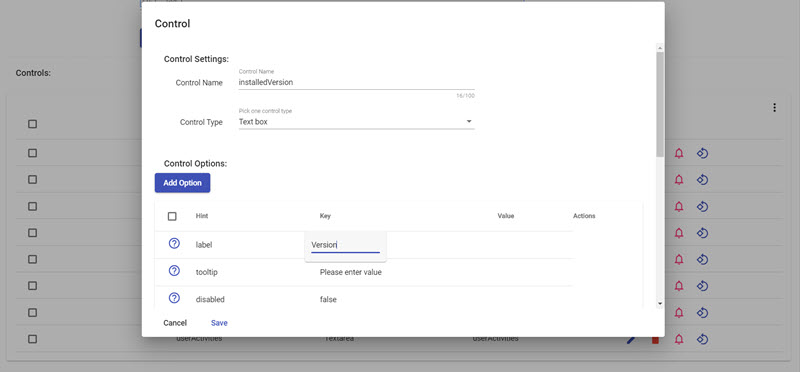
Now, let's start editting one control and then you can repeat by yourself for all controls.
- Clicks on a pencil icon (Edit button), it will pop up a dialog
- Scroll down and clicks on a text Installed Version" on a same line of *label row
- Types a new text "Verion"
- Presses on Save button
You can do it with others. After everything is ok, sroll up and clicks on , then "Save" button for creating a one Stardand Component.
You should check a result below
Step 5: Connect with a page
Step 5.1: Create a page
We have one section component which is ready to intergate a page. Now open a left menu, choose Page Settings, then clicks on Pages Management.
On Pages Management, clicks on then clicks on Create
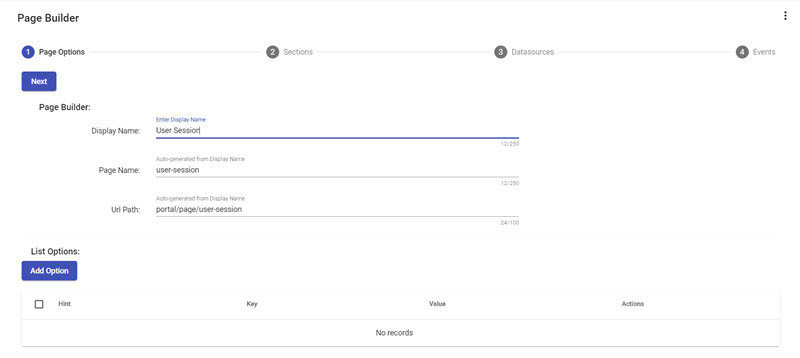
Step 5.2: Fill out Page Options
On a first step, you should fill out a Display Name. So you should enter a text User Session
Tip
Page name and url will be auto-generated according to your Display Name.
There are nothing here you should warn, presses on Next button to move Sections step
Step 5.3: Add Section
Following this screenshot below to help add a section
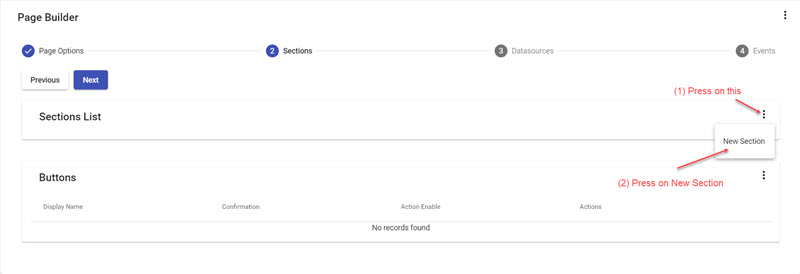
This step will open up a Section dialog. You need to enter some infos:
- Enter User Session Form on Display Name field
- Choose Standard value as default on Construction Type field
- Choose User Session Form which you have created on a step 4 on Choose Standard
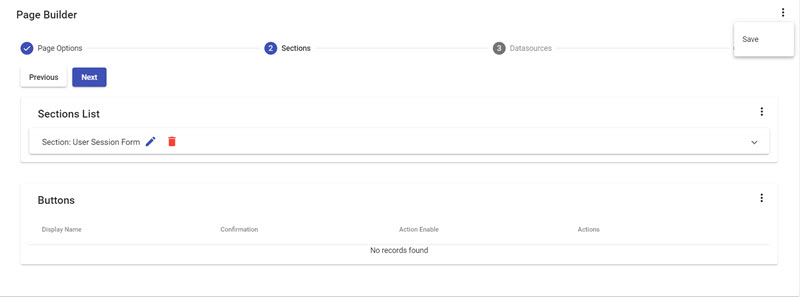
After that, presses on Save button to close a dialog

Step 5.4: Save a creating page
Now, there are nothing to do here. Just save your page by clicking on Save button of .
Step 6: Test a page
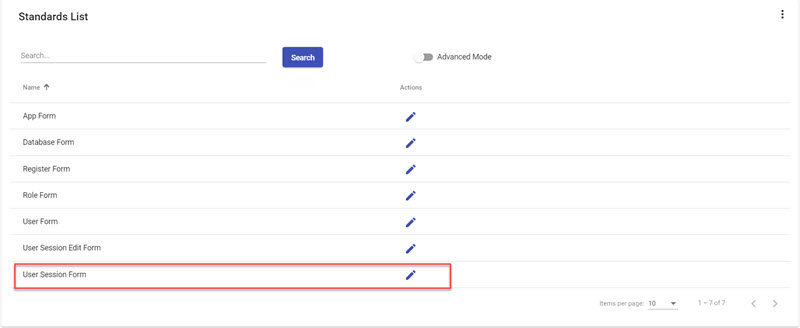
After a page created, on Pages Management, type User Session on Search textbox to find your page, then presses Search button
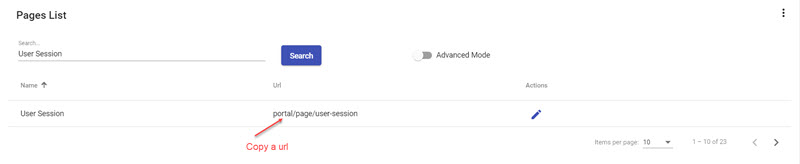
You just highlight an url and copy this.
Now look on a browser's url, replace a string portal/page/pages-management by your copied url. Then press on Enter to redirect to your page.
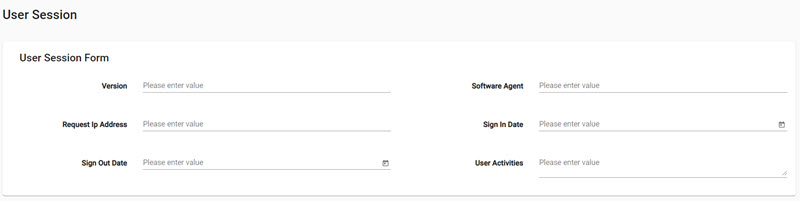
If you can reach here, so you test successfully a page.
Congratulation! You have created one page by LET Portal Mechanism. We will guide you to work with two remaining components that are Dynamic List and Chart.