Localization
The documentation applies to: v0.8.0
How Localization works
LET Portal seperates localiztion into two sets: one in source code and one in app localization.
- Source code: we are using ngx-translate to perform translation, we stores all locale files in
assets\i18n\*.js. - App: we create one localization page for collecting all translable strings of related components. LET Portal will help you to collect all translable strings such as control label, validation message, etc.
Default Locale
By default, LET Portal will get a setting in environment.ts file.
{
 "localization":{
    // Look up en-Us.js file in assets\i18n folder
    "defaultLanguage": 'en-Us',
    // Allow user to switch language, it is global scope
    "allowSwitchLanguage": true,
    // Datasource for language select at login page
    "allowedLanguages": [
      { name: 'English', value: 'en-Us' },
      { name: 'Tiếng Việt', value: 'vi-VN' }
    ]
  }
}
Note
Currently we are constructing with EN and VI (my mother tongue)
Create New Locale
First, you need to add one code in allowedLanguages section in environment.ts file.
Second, move to Apps Management and then click on locale icon.
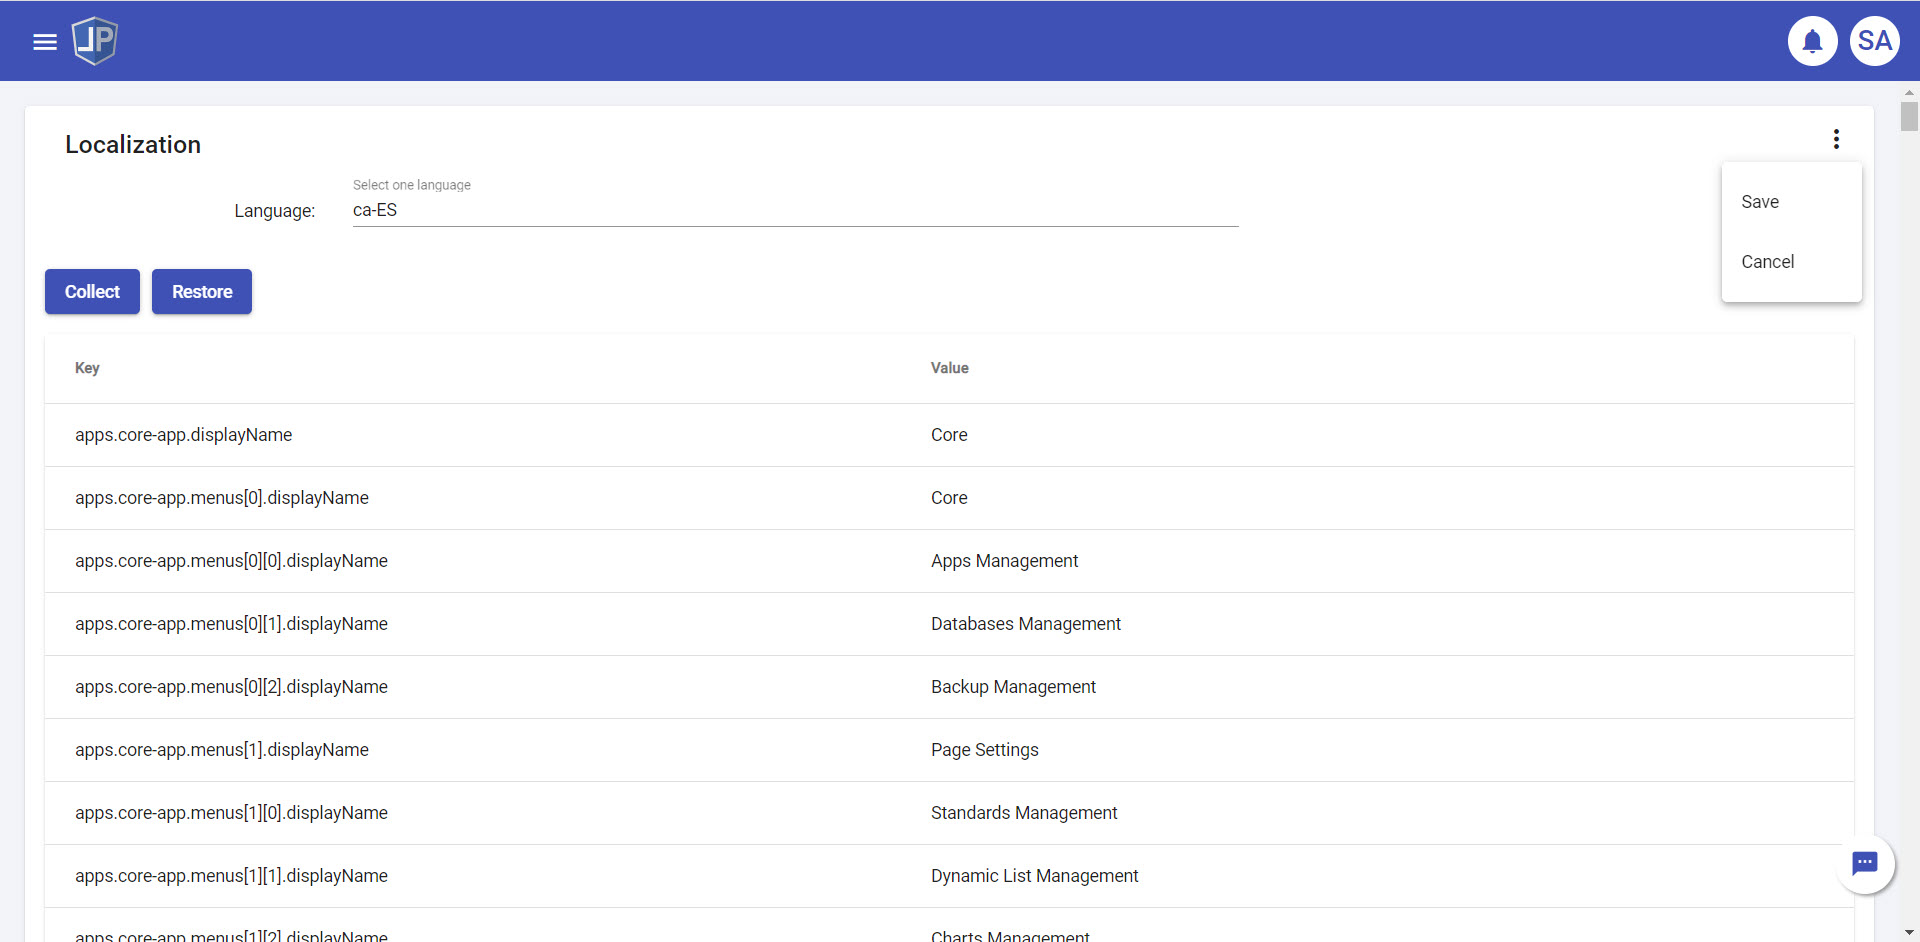
Third, click on Create button to move to Localization Builder page
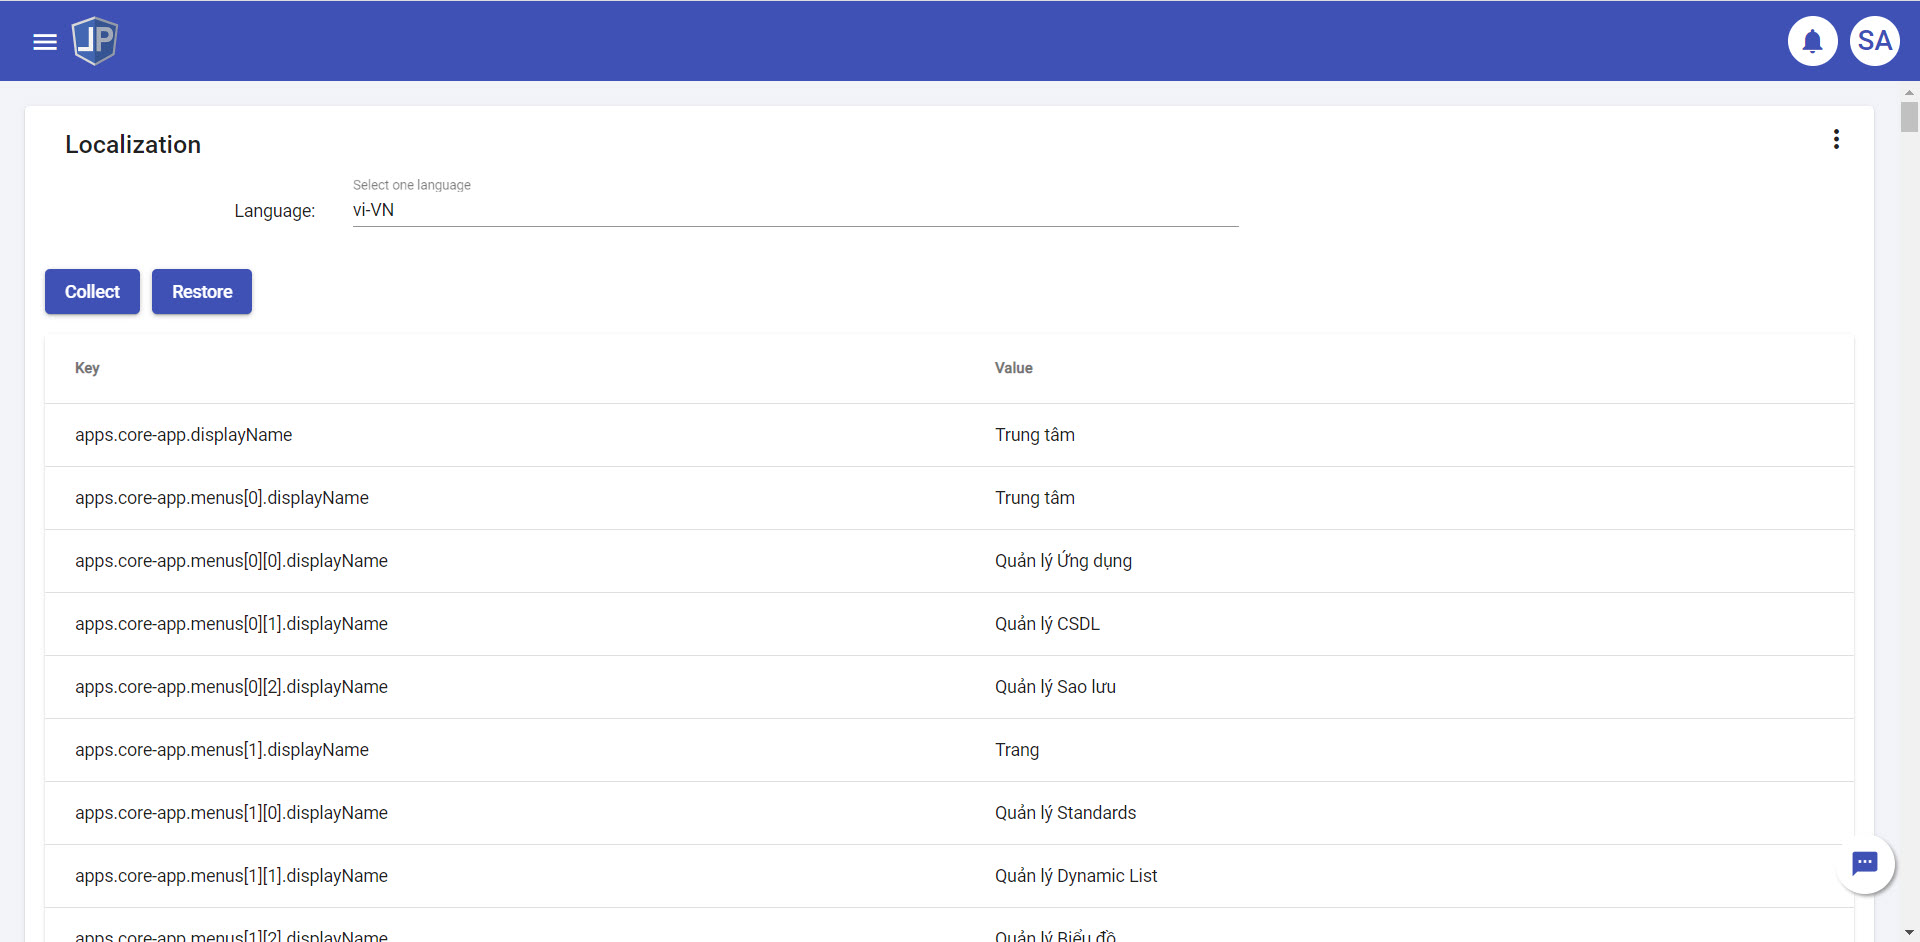
Fourth, pick one locale and then click Collect button to generate all translable strings
Then you just edit one by one string. After you complete all strings, click Save button.

Regenerate after changed something
If you add/remove some controls in Standard, or add new page, you can click on Collect again to regenerate (but all existed strings will be kept)
Move localization to new environment
You can create json file for cloning to new environment.
First, edit one locale, then click on Backup button to generate *.json file
Second, in new environment you should go to a localization builder page, then clicking on Restore button, choose your json file.
Third, you can click on Collect button to merge a current environment with restored locale.
